English
 中文简体
中文简体 Español
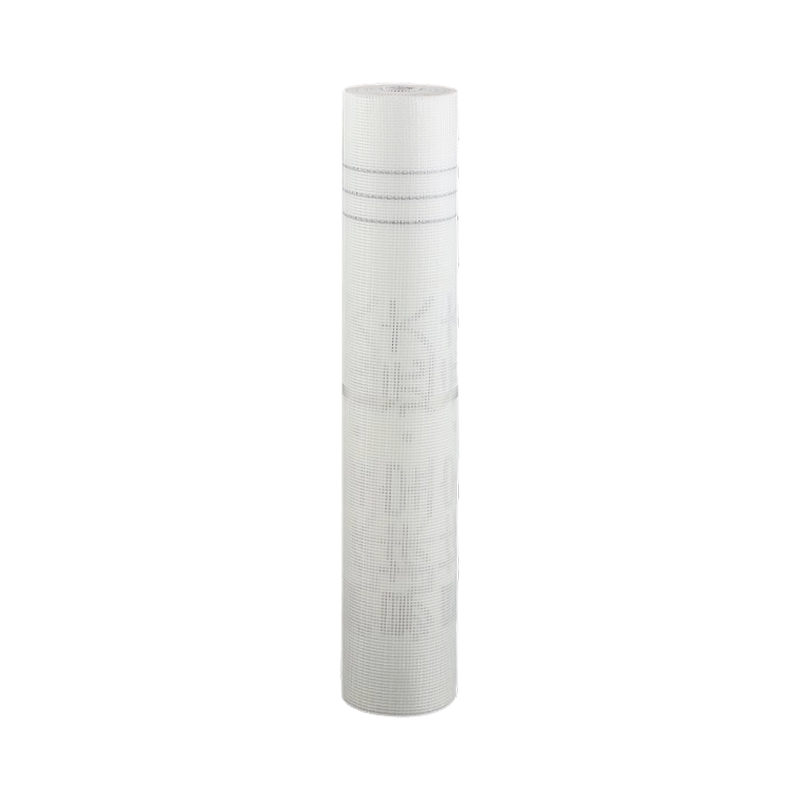
To use fiberglass mesh for waterproofing, embed the mesh between two layers of a compatible liquid waterproofing membrane on a clean, primed surface. The mesh acts as a reinforcement layer that distributes stress, bridges hairline cracks, and prevents the membrane from tearing when the substrate moves. This technique, known as reinforced liquid-applied waterproofing, extends the service life of the waterproofing system by a factor of two to three times compared to unreinforced applications, according to data from the National Association of Corrosion Engineers. The mesh itself is a woven fabric made from glass fibers coated with an alkali-resistant sizing that protects it from degradation in cementitious environments where pH levels can exceed 12.5.
Content
- 1 What Is Fiberglass Mesh and How Does It Function in Waterproofing
- 2 Where Fiberglass Mesh Waterproofing Delivers the Highest Performance
- 3 Step-by-Step Application of Fiberglass Mesh Waterproofing
- 4 Technical Specifications That Determine Mesh Performance
- 5 Fiberglass Mesh Compared to Alternative Reinforcement Materials
- 6 Common Application Errors That Lead to Waterproofing Failure
- 7 Frequently Asked Questions About Fiberglass Mesh Waterproofing
- 7.1 Can fiberglass mesh be used with all types of waterproofing membranes?
- 7.2 How long does fiberglass mesh waterproofing last when properly installed?
- 7.3 Is one layer of fiberglass mesh sufficient for waterproofing?
- 7.4 What is the correct mesh overlap at seams and corners?
- 7.5 Can fiberglass mesh be applied on damp substrates?
- 7.6 How does temperature affect fiberglass mesh waterproofing installation?
- 8 Key Takeaways for Successful Fiberglass Mesh Waterproofing
What Is Fiberglass Mesh and How Does It Function in Waterproofing
Fiberglass mesh functions as a tensile reinforcement layer within a waterproofing assembly, converting a brittle membrane into a ductile composite that can withstand structural movement without rupturing.
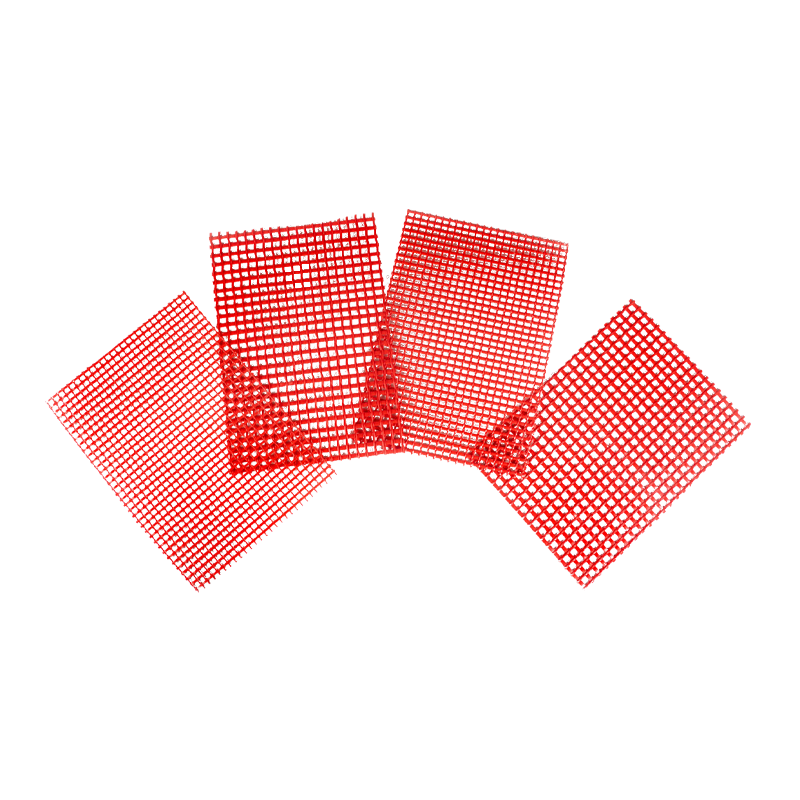
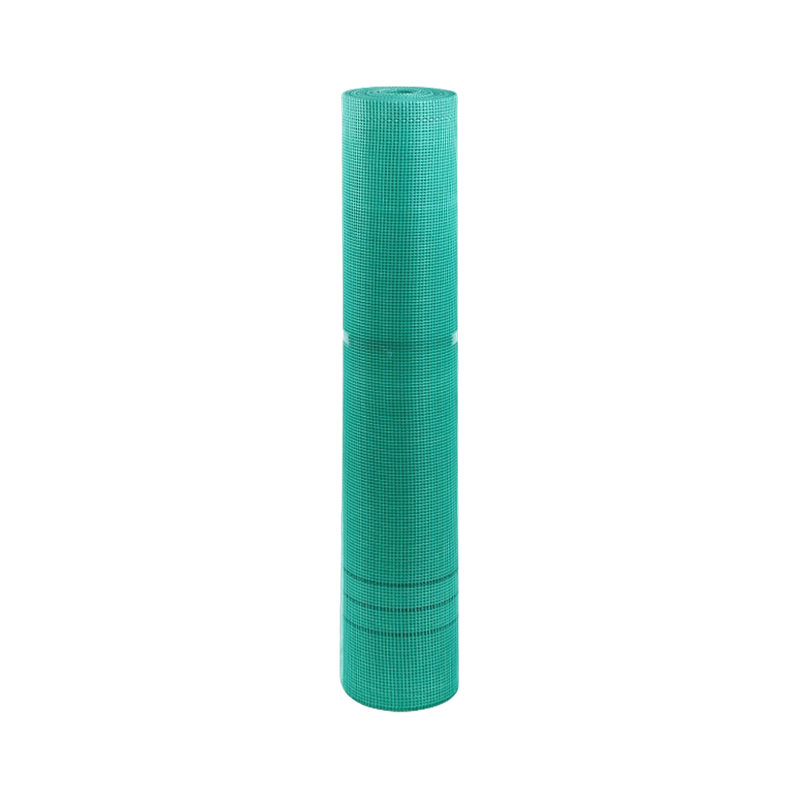
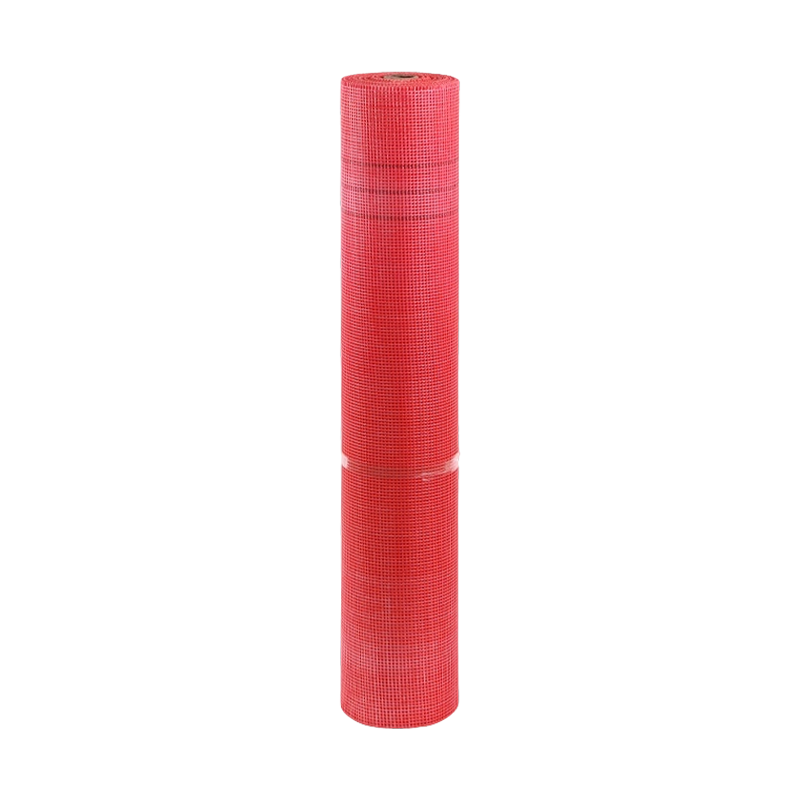
The material is manufactured by weaving continuous glass filaments into an open-grid pattern with square openings typically measuring between 3 millimeters and 10 millimeters. After weaving, the mesh receives an alkali-resistant coating, usually a polymer or latex-based sizing, which prevents the glass fibers from deteriorating when in contact with cement-based adhesives and substrates. Without this protective coating, unprotected glass fibers lose up to 60 percent of their tensile strength within 90 days of exposure to a high-alkaline environment, based on research published by the International Concrete Repair Institute.
The mesh opening size determines how well the liquid membrane saturates through the grid. A 4-millimeter by 4-millimeter opening allows adequate flow-through for most acrylic and polyurethane membranes while providing sufficient fiber density for reinforcement. Tighter weaves with openings under 3 millimeters may restrict membrane penetration, creating voids that weaken the bond. Looser weaves above 8 millimeters reduce the reinforcing effect because there is less fiber per unit area to carry tensile loads.
The weight of the mesh, expressed in grams per square meter, directly correlates with its load-bearing capacity. A standard 160-gram mesh provides approximately 45 Newtons per centimeter of tensile strength in the warp direction, sufficient for residential balcony and bathroom applications. Heavier meshes rated at 300 grams per square meter deliver over 80 Newtons per centimeter and are specified for vehicular traffic decks and plaza waterproofing where dynamic loads are present.
Where Fiberglass Mesh Waterproofing Delivers the Highest Performance
Fiberglass mesh waterproofing performs best in areas subject to thermal cycling, substrate movement, and intermittent water exposure, including bathrooms, balconies, foundation walls, and wet-room floors.
Bathroom Wet Zones
Shower floors and wall junctions experience daily thermal shock from hot water followed by cooling. The mesh accommodates the differential expansion between tile, adhesive, and substrate, reducing grout cracking by an estimated 40 percent over a 10-year period according to tile industry failure analysis reports.
Exterior Balconies
Outdoor horizontal surfaces face freeze-thaw cycles, UV exposure, and live loads. The mesh reinforcement prevents the membrane from tearing at stress concentration points around drain penetrations and perimeter edges where movement is greatest.
Foundation Walls
Below-grade walls are subjected to hydrostatic pressure and soil movement. Embedding mesh in a cementitious or bituminous coating creates a reinforced barrier that bridges settlement cracks up to 1.5 millimeters wide, based on ASTM C1305 testing protocols.
Step-by-Step Application of Fiberglass Mesh Waterproofing
The correct application sequence for fiberglass mesh waterproofing follows a four-stage process: surface preparation, base coat application, mesh embedding, and top coat sealing, with each stage completed before the previous layer cures fully.
Figure 1: Cross-section of a reinforced liquid-applied waterproofing system showing the five-layer assembly.
Stage 1: Surface Preparation
The substrate must be clean, dry, and free of any contamination that could compromise the bond between the primer and the surface.
- Remove all dust, oil, grease, and curing compounds using mechanical abrasion or pressure washing at a minimum of 2,500 psi for concrete surfaces.
- Fill cracks and voids wider than 3 millimeters with a polymer-modified repair mortar and allow to cure for at least 24 hours.
- Verify substrate moisture content stays below 4 percent for cementitious substrates using a calcium chloride test per ASTM F1869 standards.
- Apply a primer compatible with the chosen waterproofing membrane at a coverage rate of 0.2 to 0.3 kilograms per square meter.
- Allow primer to dry until tack-free, typically 45 to 90 minutes at 20 degrees Celsius and 50 percent relative humidity.
Stage 2: Base Coat Application
The first coat of liquid membrane creates the bonding layer into which the fiberglass mesh will be embedded while still wet.
- Apply the liquid membrane using a notched trowel, roller, or brush at a wet film thickness of 1.0 to 1.5 millimeters.
- Work in sections no larger than 2 meters by 2 meters to prevent the membrane from skinning over before the mesh is placed.
- Cover all corners, cove areas, and penetrations first, as these are the highest-risk zones for water intrusion.
Stage 3: Embedding the Fiberglass Mesh
The mesh must be pressed firmly into the wet base coat so that it sits in the lower third of the membrane layer, not on top of it.
- Unroll the fiberglass mesh over the wet membrane and press it down using a flat trowel or roller, working from the center outward to remove air pockets.
- Overlap adjacent mesh sheets by a minimum of 100 millimeters at all seams to maintain structural continuity across the waterproofing plane.
- At inside and outside corners, extend the mesh at least 150 millimeters in both directions and press it firmly into the corner bead of membrane.
- For pipe penetrations, cut the mesh into a circular patch with a central hole 20 millimeters smaller than the pipe diameter for a tight friction fit.
Stage 4: Top Coat Application
The top coat encapsulates the mesh completely and provides the final waterproofing barrier, applied after the base coat has set but not fully cured.
- Apply the second coat at the same wet film thickness of 1.0 to 1.5 millimeters, ensuring complete coverage of the mesh with no visible fiber pattern.
- The total dry film thickness of the combined system should measure between 1.5 and 2.0 millimeters when tested with a dry film thickness gauge.
- Allow the system to cure for 24 to 48 hours before flood testing or tile installation, depending on ambient temperature and humidity conditions.
Technical Specifications That Determine Mesh Performance
Three measurable properties define the suitability of fiberglass mesh for a specific waterproofing application: mesh weight, alkali resistance rating, and tensile strength retention after accelerated aging.
| Property | Light-Duty Mesh | Standard-Duty Mesh | Heavy-Duty Mesh |
|---|---|---|---|
| Weight per Square Meter | 75–110 gsm | 145–165 gsm | 280–320 gsm |
| Tensile Strength (Warp) | 25–35 N/cm | 40–50 N/cm | 75–90 N/cm |
| Mesh Opening Size | 8–10 mm | 4–5 mm | 3–4 mm |
| Alkali Resistance (28-Day Retention) | 50–60% | 70–80% | 85–95% |
| Typical Application | Interior drywall joint reinforcement | Residential bathroom and balcony waterproofing | Plaza decks, parking structures, green roofs |
Table 1: Comparison of fiberglass mesh grades by weight, strength, and alkali resistance. Data compiled from ASTM E2098 testing standards and manufacturer technical data sheets.
Fiberglass Mesh Compared to Alternative Reinforcement Materials
When selecting a reinforcement for liquid-applied waterproofing, fiberglass mesh offers the best balance of cost, alkali resistance, and ease of handling compared to polyester fabric, metal lath, and polyethylene sheets.
| Material | Tensile Strength | Alkali Resistance | Cost per Sqm | Ease of Installation | Best Use Case |
|---|---|---|---|---|---|
| Fiberglass Mesh | 40–90 N/cm | High (70–95%) | $1.50–$3.50 | Excellent | General waterproofing, cementitious coatings |
| Polyester Fabric | 60–120 N/cm | Moderate (40–60%) | $3.00–$6.00 | Good | High-movement joints, polyurethane systems |
| Metal Lath | 100–200 N/cm | Low (corrodes) | $4.00–$8.00 | Moderate | Thick mortar beds, structural overlays |
| Polyethylene Sheet | 20–40 N/cm | High | $0.80–$1.50 | Excellent | Vapor barriers, non-structural damp-proofing |
Table 2: Performance comparison of four reinforcement materials used in waterproofing assemblies. Alkali resistance values represent tensile strength retained after 28-day immersion in a pH-12.5 solution at 23 degrees Celsius.
Tensile Strength Comparison Across Materials
Figure 2: Horizontal bar chart comparing tensile strength ranges of waterproofing reinforcement materials. Values represent warp-direction strength at 23 degrees Celsius.
Common Application Errors That Lead to Waterproofing Failure
The five most frequent mistakes when installing fiberglass mesh waterproofing are insufficient mesh overlap, embedding mesh into a dry base coat, using non-alkali-resistant mesh, skipping the primer, and applying the top coat before the base coat sets.
| Error | Consequence | Prevention |
|---|---|---|
| Mesh overlap under 50 mm | Water penetrates through un-reinforced seam gaps when substrate cracks | Mark overlap lines at 100 mm on substrate before laying mesh |
| Embedding mesh into dry membrane | Mesh sits on surface without bonding, creating a shear plane that delaminates | Apply base coat in small sections and place mesh within 5 minutes |
| Using non-alkali-resistant mesh | Glass fibers degrade within 60–90 days in cementitious environments | Verify product labeling for alkali-resistant certification per ASTM E2098 |
| Skipping primer on porous substrates | Membrane loses water through rapid absorption, resulting in pinhole formation | Always prime concrete and cement board surfaces before membrane application |
| Top coat applied too early | Solvent entrapment causes blistering between coats within 30 days | Wait until base coat is tack-free but not fully cured, typically 2–4 hours |
Table 3: Common installation errors, their effects on waterproofing performance, and corrective measures.
Frequently Asked Questions About Fiberglass Mesh Waterproofing
Can fiberglass mesh be used with all types of waterproofing membranes?
Fiberglass mesh is compatible with cementitious, acrylic, and most polyurethane liquid-applied membranes. It should not be used with solvent-based rubberized asphalt membranes unless the mesh manufacturer confirms chemical resistance, as some solvents can attack the alkali-resistant coating on the fibers. For silicone-based membranes, polyester fabric is generally a better reinforcement choice due to superior elongation compatibility.
How long does fiberglass mesh waterproofing last when properly installed?
A properly installed reinforced waterproofing system using fiberglass mesh has a design service life of 15 to 25 years for interior applications and 10 to 20 years for exterior exposures. This estimate comes from accelerated aging studies conducted by the Building Research Establishment, which correlate 2,000 hours of QUV weathering exposure to approximately 15 years of natural outdoor exposure in temperate climates. The actual lifespan depends on UV exposure, thermal cycling frequency, and substrate stability.
Is one layer of fiberglass mesh sufficient for waterproofing?
For most residential and light commercial applications, a single layer of standard-duty mesh embedded between two coats of membrane provides adequate reinforcement. In high-stress areas such as expansion joints, structural seams, and transition zones between dissimilar substrates, a second layer of mesh is recommended, placed perpendicular to the first layer to create a cross-laminated reinforcement. Engineering specifications for plaza decks often require a double-layer mesh system with staggered seams to eliminate continuous weak planes.
What is the correct mesh overlap at seams and corners?
The industry-standard minimum overlap for fiberglass mesh seams is 100 millimeters in all directions. At inside corners, extend the mesh 150 millimeters up each wall from the corner line. At outside corners, wrap the mesh 150 millimeters around the corner onto each adjacent face. For floor-to-wall transitions, the mesh should extend 150 millimeters up the wall from the floor plane. These dimensions align with the recommendations in the International Building Code for reinforced waterproofing assemblies.
Can fiberglass mesh be applied on damp substrates?
Fiberglass mesh itself is not moisture-sensitive and can be placed on damp surfaces. However, the liquid waterproofing membrane requires a substrate with moisture content below the manufacturer's specified limit to achieve proper adhesion. For cementitious membranes, the substrate can be slightly damp but should not have standing water or a visible water film. For polyurethane and acrylic membranes, the substrate must be completely dry, with moisture content below 4 percent as measured by a protimeter or calcium chloride test. Applying membrane to an overly wet substrate traps moisture that can cause osmotic blistering within 30 to 90 days after installation.
How does temperature affect fiberglass mesh waterproofing installation?
Temperature influences both the membrane viscosity and the curing rate. Below 5 degrees Celsius, water-based membranes may freeze before curing, and solvent-based membranes become too viscous to penetrate the mesh openings properly. Above 35 degrees Celsius, the base coat can skin over within 2 to 3 minutes, leaving insufficient open time to embed the mesh. The optimal installation temperature range is 10 to 30 degrees Celsius with relative humidity between 30 and 70 percent. In hot conditions, pre-wetting the substrate with a light water mist can extend the open time of cementitious membranes by 5 to 8 minutes.
Key Takeaways for Successful Fiberglass Mesh Waterproofing
Using fiberglass mesh for waterproofing is a proven method that transforms a liquid-applied membrane into a reinforced composite capable of spanning cracks and resisting structural movement. The critical factors that determine success are selecting the correct mesh weight for the application, ensuring full embedment into a wet base coat, maintaining proper overlap at all seams, and allowing adequate curing time before the system is covered or put into service.
The data consistently shows that reinforced systems outperform unreinforced ones by a significant margin. In controlled testing, reinforced membranes withstood 300 percent more movement cycles before failure compared to identical membranes without mesh reinforcement, according to research from the University of Texas at Austin's Construction Materials Research Group. This performance advantage translates directly into fewer leaks, reduced maintenance costs, and longer service intervals.
For anyone undertaking a waterproofing project, the additional material cost of fiberglass mesh (approximately 2 to 4 dollars per square meter) represents a small fraction of the total project cost while providing a disproportionate improvement in long-term reliability. When weighed against the cost of repairing a failed waterproofing system, which can exceed 150 dollars per square meter for demolition and reconstruction, the decision to include mesh reinforcement is a cost-effective insurance policy against premature failure.